
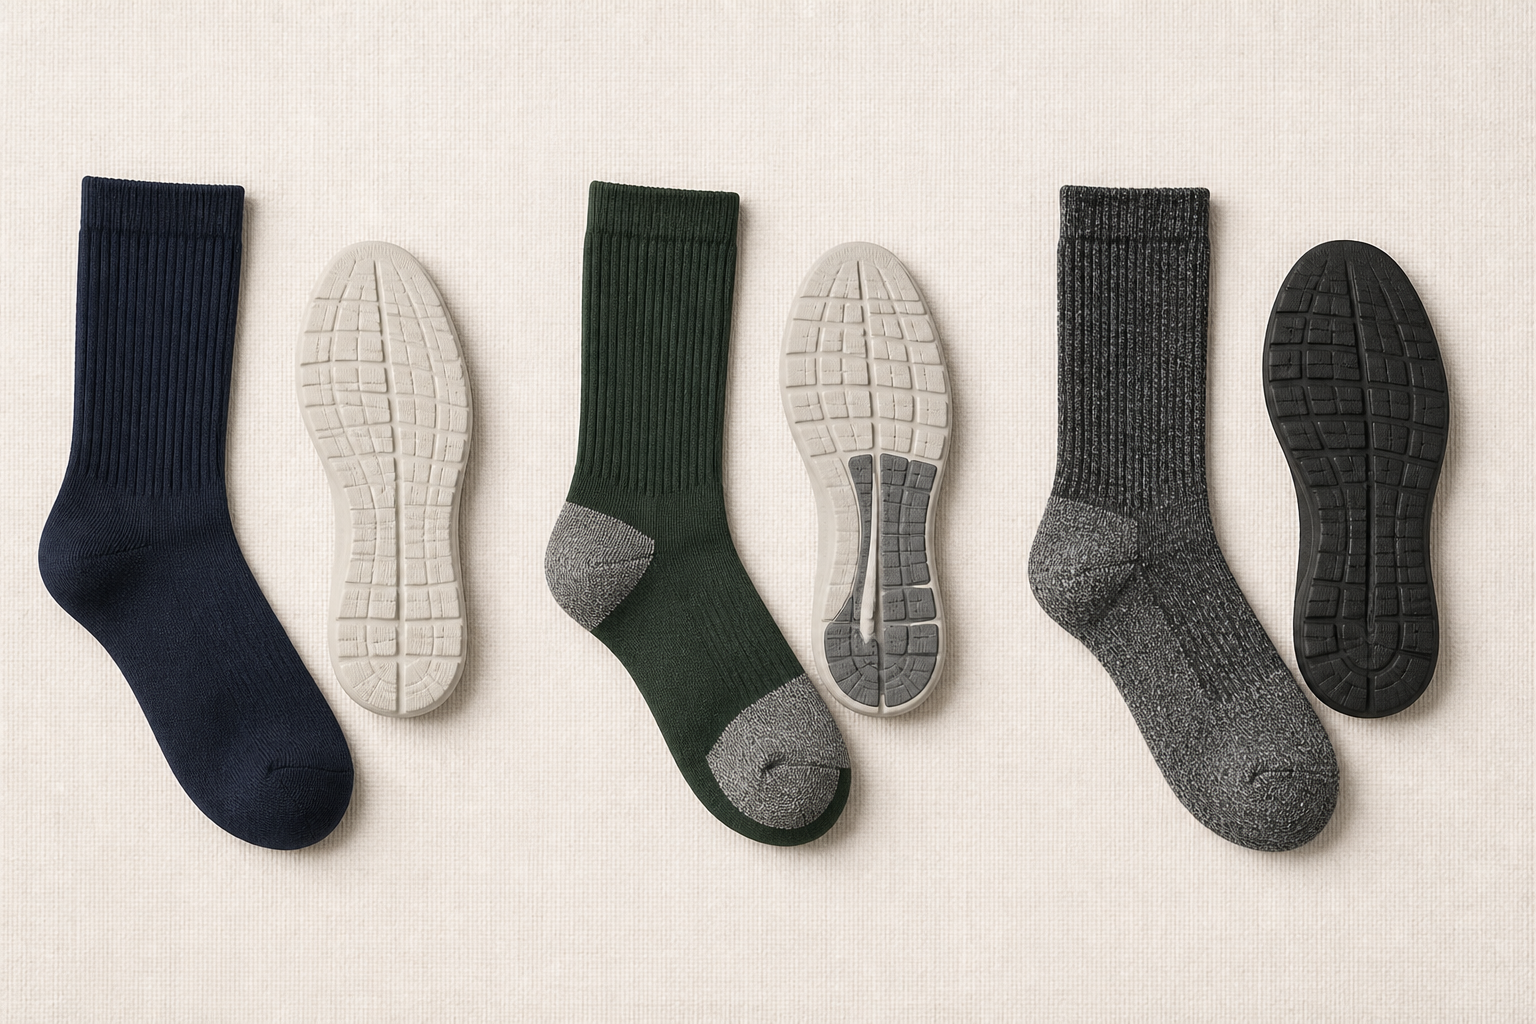
Direct answerCushioning changes thickness, underfoot feel, warmth, weight, drying space and the amount of room required inside a shoe. Light, targeted and fuller terry constructions can each be appropriate for different products. The right choice depends on footwear, activity, climate and wearer preference, so it should be evaluated with the actual sock construction rather than described as universally better.
Cushioning is a construction decision
Cushioning is created through the amount and placement of thicker or denser knit structure, often including terry zones. It changes the relationship between the foot, sock and shoe, not just the softness of one surface.
Start by defining where cushioning is needed and why. A product designed for a close-fitting racing shoe may need a different approach from a training sock intended for longer everyday wear.
- Full sole cushioning
- Targeted heel and forefoot cushioning
- Light or smooth sole
- Heel and toe reinforcement
- Transition between cushioned and mesh zones
Light cushioning keeps bulk controlled
A light construction can preserve more room inside the shoe and may suit products where a close fit, lower bulk or faster-drying feel is important. It does not automatically mean less capable; it represents a different balance of priorities.
The specification should still define the heel and toe requirements, yarn direction, fit and intended use. A thin sock with poor recovery or an unsuitable heel position can perform poorly in use even when its overall thickness is low.
- Lower overall bulk
- More direct footwear feel
- Useful when shoe volume is limited
- Requires careful fit and reinforcement review
Targeted cushioning balances zones
Targeted cushioning places more structure under areas such as the heel or forefoot while leaving other zones lighter. This creates a more deliberate product map and can allow ventilation or flexibility elsewhere.
The transition lines matter. A sudden change in density can affect feel and appearance, while a poorly positioned zone may not align with the wearer's foot. Mark the zones on the technical drawing and inspect them on the sample.
- Define heel and forefoot boundaries
- Check alignment with the intended foot position
- Coordinate cushioning with mesh
- Review transitions when stretched
- Confirm visual appearance on the finished sock
Fuller terry increases warmth and underfoot presence
A fuller terry construction creates more material between foot and shoe. It can provide a plusher underfoot feel and more insulation, but it also increases bulk and can change drying time, weight and fit.
Whether that tradeoff is appropriate depends on the product brief. Do not describe fuller terry as proof of comfort or performance; assess it in the actual shoe, climate and use scenario.
- Higher underfoot presence
- Potentially warmer hand feel
- More space required inside footwear
- Greater need to check drying and fit expectations
Cushioning affects the rest of the specification
Cushioning cannot be approved in isolation. It interacts with yarn blend, knitting density, cuff recovery, ventilation, heel shape, toe finish and logo placement. The same logo or size grade may need review when the sole structure changes.
Include the desired cushioning map in the quote request and ask the factory to identify any effect on material usage, machine setup, sample timing or packaging dimensions. The factory should confirm project-specific impacts rather than relying on a generic label.
- Yarn and blend direction
- Mesh and ventilation placement
- Heel and toe construction
- Logo placement and stretch
- Packaging and folded dimensions
- Sampling and approval criteria
Compare cushioning on a controlled sample
For a useful comparison, hold the sock type, size, yarn direction and footwear constant while changing the cushioning map. Review thickness, fit, foot position, transitions, ventilation and appearance both relaxed and worn.
BEZENTO's standard sampling estimate is about 7 days, excluding sample shipping time. Revisions, special materials or complex construction may add time. Keep the selected cushioning map in the approved specification before bulk production.
Use a simple comparison record for each version. Note the cushioning coverage, thickness at the same points, shoe used, wearer feedback and any visible change after washing or repeated wear. The record does not need to claim laboratory performance; its purpose is to make the product decision traceable.
If the sock is intended for more than one shoe type, test the most restrictive fit first. A construction that feels acceptable in a roomy training shoe may create unwanted pressure or bulk in a close-fitting shoe. Record which footwear the approval applies to.
- Use the same size and footwear for comparison
- Measure thickness at defined points
- Check relaxed and stretched fit
- Review heel and toe alignment
- Record the selected construction
- Keep the approved sample as reference
Translate the chosen cushioning map into production instructions
Once a cushioning level is selected, describe the map in a way that can be reproduced: identify the heel and forefoot boundaries, the transition into mesh or smooth zones, the intended knit density or construction direction and any logo or support features that overlap the area.
Ask the factory to confirm whether the change affects yarn usage, machine setup, sample timing, folded dimensions or packaging. These are project-specific checks; a generic light, targeted or full label is not enough for a production handoff.
The approved sample should carry the same version identifier as the technical drawing and artwork. If the buyer changes the cushioning after artwork or packaging has been released, review the full product system again because thickness and folded dimensions can change the presentation and packing assumptions.
For a repeat order, compare the new production sample with the retained approved reference under the same viewing and measuring conditions. Record any accepted deviation instead of relying on memory or a product photograph.
- Cushioning map and zone boundaries
- Transition into mesh or smooth areas
- Interaction with support and logo zones
- Material and machine assumptions
- Folded dimensions and packaging check
- Retained approved reference
Translate the chosen cushioning map into production instructions
Once a cushioning level is selected, describe the map in a way that can be reproduced: identify the heel and forefoot boundaries, the transition into mesh or smooth zones, the intended knit density or construction direction and any logo or support features that overlap the area.
Ask the factory to confirm whether the change affects yarn usage, machine setup, sample timing, folded dimensions or packaging. These are project-specific checks; a generic light, targeted or full label is not enough for a production handoff.
The approved sample should carry the same version identifier as the technical drawing and artwork. If the buyer changes the cushioning after artwork or packaging has been released, review the full product system again because thickness and folded dimensions can change the presentation and packing assumptions.
For a repeat order, compare the new production sample with the retained approved reference under the same viewing and measuring conditions. Record any accepted deviation instead of relying on memory or a product photograph.
If several cushioning levels are being considered for one collection, keep the naming consistent across the specification, artwork, sample labels and quotation. A clear name such as light sole, targeted heel and forefoot, or fuller terry is useful only when the accompanying zone map defines exactly what each name means.
- Cushioning map and zone boundaries
- Transition into mesh or smooth areas
- Interaction with support and logo zones
- Material and machine assumptions
- Folded dimensions and packaging check
- Retained approved reference
Build a decision record for the selected level
The final cushioning decision should explain why the selected construction fits the product brief. Record the footwear volume, activity, climate assumption, target wearer, comparison samples reviewed and the observations that led to approval. This is more useful than simply writing light or full on a purchase order.
When a buyer rejects a version, record the reason in practical terms such as too much bulk in the toe box, insufficient underfoot presence, poor alignment with the foot or an unwanted change in drying feel. These observations can guide the next sample without turning subjective feedback into an unsupported performance claim.
Keep the comparison samples and the approved reference together with the versioned technical drawing. If the product is reordered or adapted for another shoe, the team can see which parts of the decision remain valid and which must be tested again.
- Footwear and activity context
- Samples compared
- Observed fit and construction differences
- Reason for approval or rejection
- Retained sample and drawing
Buyer Questions
Is fuller cushioning necessarily better?
No. Fuller cushioning changes bulk, warmth and underfoot feel. The suitable construction depends on footwear, activity, climate and the product's intended use.
Where is targeted cushioning usually placed?
A brief may target the heel, forefoot or other defined zones, but the exact map should be matched to the foot position, sock construction and intended use, then checked on a sample.
Does cushioning make a sock warmer?
More material can change warmth and hand feel, but the result also depends on yarn, ventilation, footwear and conditions. Avoid treating cushioning alone as a universal temperature claim.
Can cushioning be combined with mesh?
Yes, the specification can coordinate cushioned zones with lighter or mesh areas. The transitions and overall fit should be reviewed on the actual construction.
How should I choose between light and full cushioning?
Start from footwear volume, activity, climate and the desired product experience, then compare controlled samples. There is no single correct level for every athletic sock.
Discuss Your Custom Sock Requirements
Send your product type, artwork, quantity, size range, packaging, destination and target date for a practical project review.